Ask around the hobby and you’ll hear the same confession: people wait years to start a marine tank, convinced saltwater is some expert-only tier of fishkeeping — then they finally build one and discover the truth. A marine tank isn’t harder than freshwater; it’s just more particular. Get the salt right, let the cycle finish, stock slowly, and the ocean sits on your counter humming along like it was always there. This guide is the whole build in nine steps — tank, rock, salt, cycle, first fish, and the snail-and-shrimp cleanup crew that keeps it tidy — written for someone who has never mixed a bucket of saltwater in their life.
ItsyBitsyPets is reader-supported. As an Amazon Associate we earn from qualifying purchases — at no extra cost to you. See our affiliate disclosure.
Why FOWLR is the beginner sweet spot
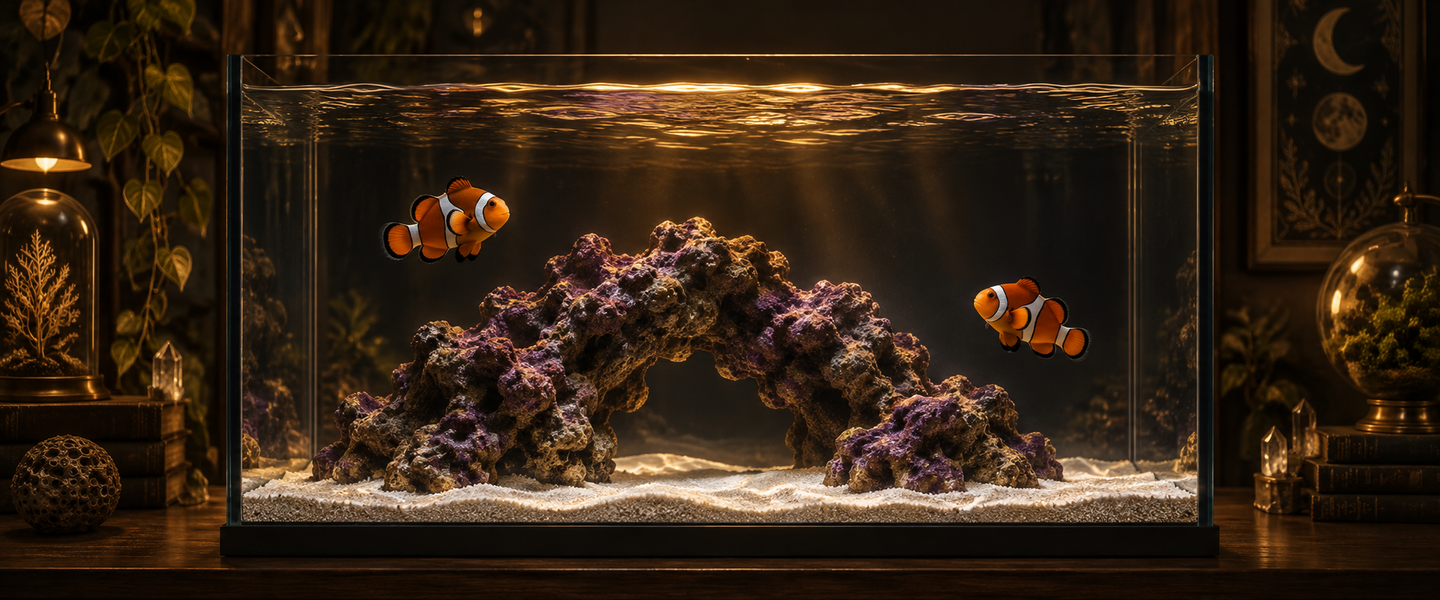
Marine tanks come in three flavors. Fish-only is the bare version — fish, sand, decorations. Full reef is the deep end — live corals with serious lighting and chemistry demands. In between sits FOWLR: fish only with live rock, and it’s the configuration most beginners — and plenty of veterans — actually run. The live rock does the heavy lifting: porous rock colonized by billions of beneficial bacteria that convert toxic fish waste into something manageable, which is to say it’s a natural filter you aquascape with. The rule of thumb is one to one-and-a-half pounds of cured rock per gallon.
The other virtue of FOWLR is that it’s not a dead end. The tank you build with this guide converts to a reef later by upgrading the light and adding corals — nothing gets thrown away. When that day comes, our coral reef tank guide picks up exactly where this one leaves off. For now: fish, rock, and a much shorter shopping list.
Step 1: pick the size (bigger is easier)
The counterintuitive first rule of saltwater: a bigger marine tank is a more forgiving one. Small volumes of water swing fast — temperature, salinity, ammonia — and swings are what kill marine livestock. Most guides, Fishlore’s setup guide among them, point beginners at 30 gallons or more, and it’s good advice. A 20-gallon works for a pair of clownfish if budget or space demands it, but 30–40 gallons buys you time to catch mistakes, and in this hobby time is everything.
Step 2: place it once, permanently
A filled marine tank weighs roughly ten pounds per gallon — a 40-gallon build is a 400-pound piece of furniture you will never move again. Pick a spot on solid flooring, near an outlet, out of direct sunlight (free light means free algae), and with enough clearance to get your arms in the top. Saltwater also has a talent called salt creep: evaporating splashes leave crusty deposits on everything nearby, so give electronics some distance.
Step 3: the equipment list
Here’s the honest FOWLR kit, minus the gadgets you don’t need yet. A reliable aquarium heater holds the water at 76–80°F. A powerhead keeps water moving across the rock — dead spots breed trouble in salt. A hang-on-back filter handles mechanical filtration (the rock does the biological work). Standard kit lighting is fine for a FOWLR — fish don’t photosynthesize; only corals demand the expensive lights.
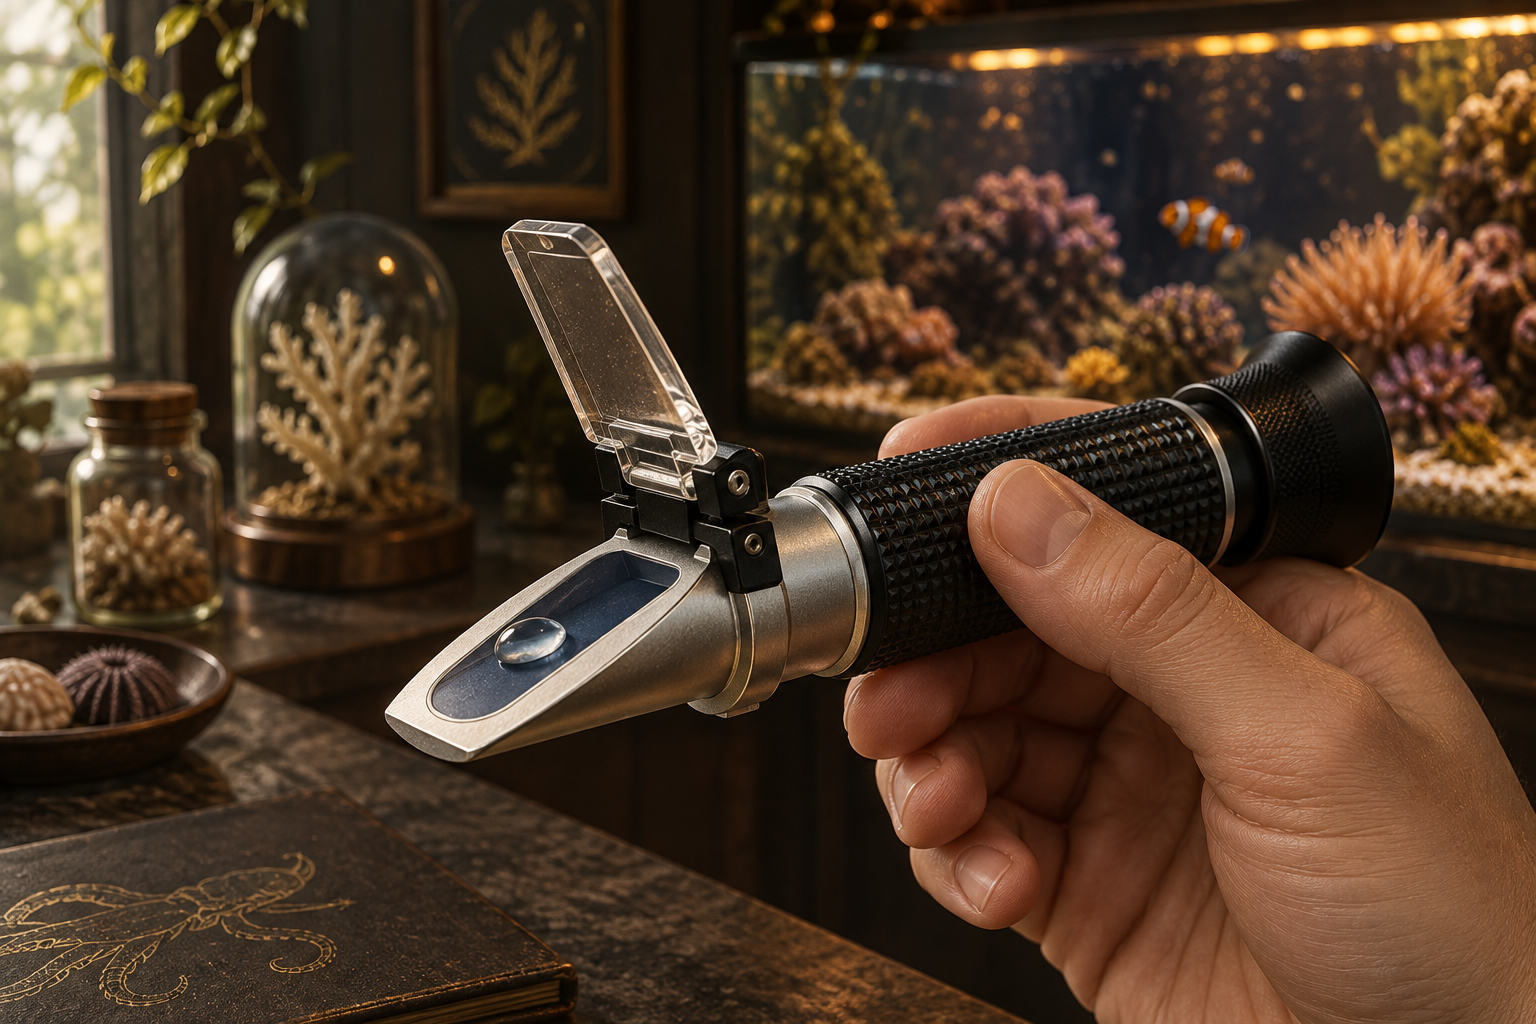
Two purchases deserve real money. First, a refractometer for measuring salinity — the cheap swing-arm hydrometers drift badly, and salinity is the one number a marine tank lives or dies by. Second, a saltwater test kit covering ammonia, nitrite, and nitrate, which is how you’ll watch the cycle happen instead of guessing. Round it out with a few 5-gallon buckets that will never touch soap again, and a source of pure water — RO/DI or distilled, because tap water’s minerals and chloramine cause algae and chemistry headaches in salt.
Step 4: sand and rock, in the right order
Aragonite sand goes down first, one to two inches. Then the rock — and take your time here, because aquascaping is the one step you do with dry hands and no consequences. Stack the rock directly on the glass or dug into the sand so nothing can topple when a burrowing snail undermines it, leave gaps and caves for fish to claim, and keep rock a few inches off the back glass so you can clean behind it. A stable arch of rock over open sand is the classic beginner scape for good reason: it looks like the ocean and it’s hard to build wrong.
Step 5: mix your first saltwater
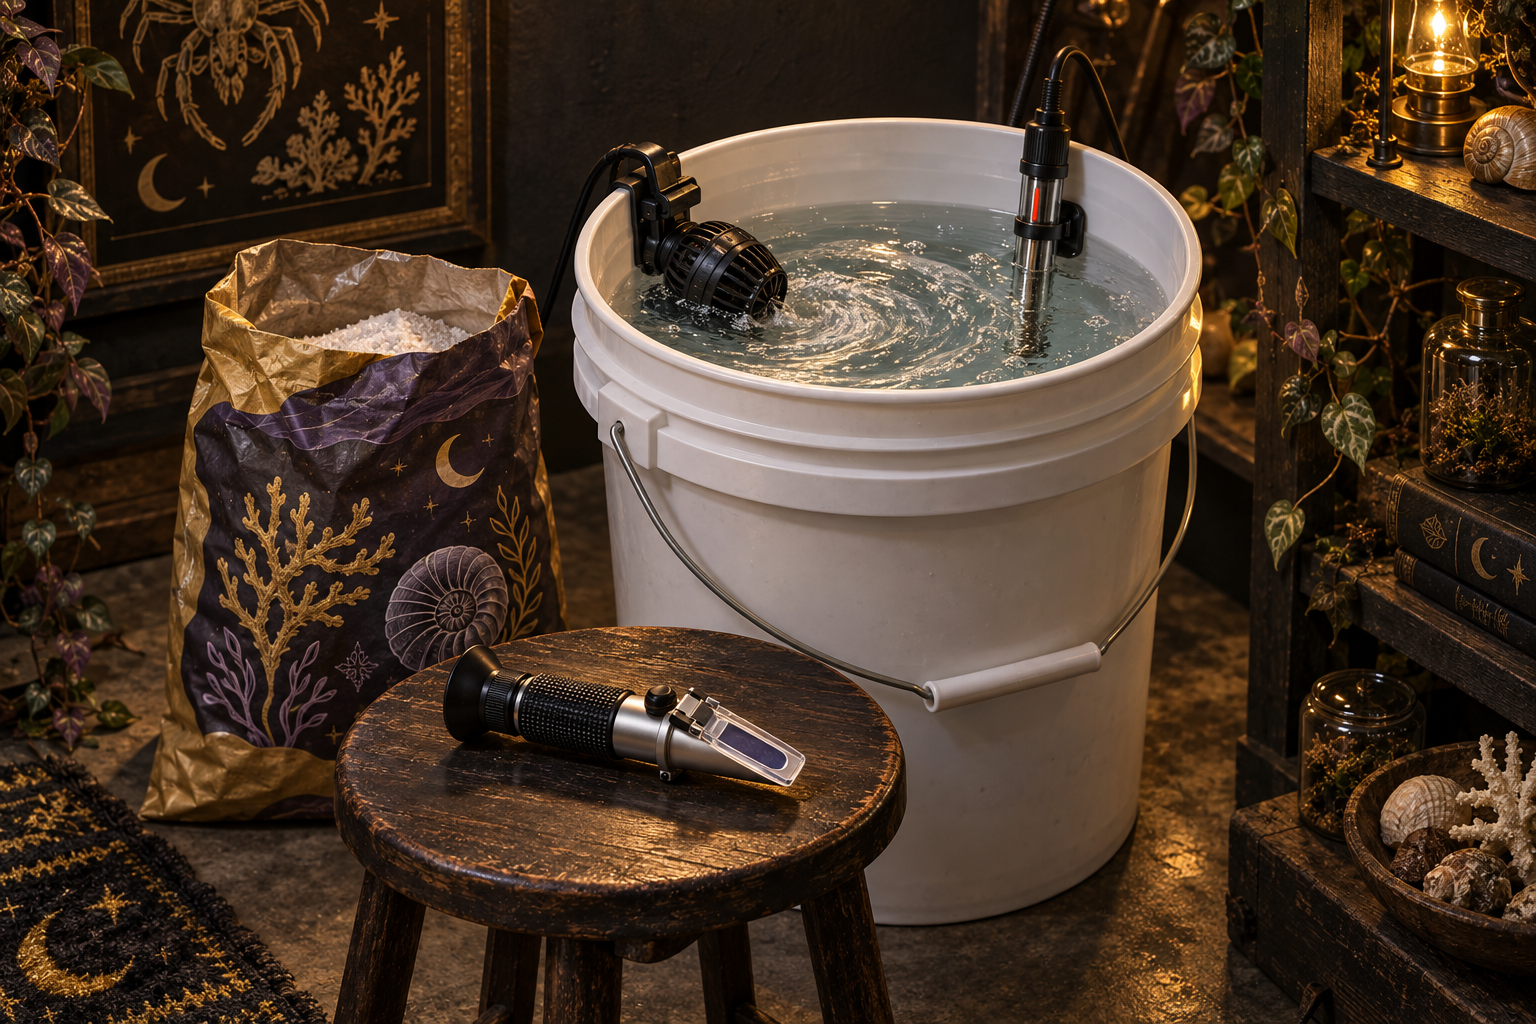
This is the step that intimidates everyone and turns out to be pancake batter. In a clean bucket: pure water, a powerhead to churn it, a heater to bring it to tank temperature, then marine salt mix per the bag’s ratio — typically about half a cup per gallon. Let it mix for several hours or overnight, then check it with the refractometer. You’re aiming for a specific gravity of 1.020–1.025; aim at the top of that range, 1.024–1.025, if invertebrates or an eventual reef are anywhere in your plans. Adjust with more salt or more fresh water, fill the tank, and start the equipment.
Step 6: the cycle — four to six weeks of patience
Saltwater runs on the same nitrogen cycle as freshwater: fish waste becomes ammonia (toxic), bacteria convert it to nitrite (still toxic), different bacteria convert that to nitrate (tolerable, removed by water changes). Cured live rock arrives pre-seeded with those bacteria, which is why it shortens the wait, but the colony still has to scale up to your tank. Expect four to six weeks, as Saltwaterfish.com’s first-tank guide outlines.
Test weekly and watch the story unfold: ammonia spikes, then falls as nitrite rises; nitrite falls as nitrate appears. The cycle is finished when ammonia and nitrite both read zero and nitrate is climbing. Do your first water change to knock the nitrate down, and congratulations — the tank is alive. If the nitrogen cycle is brand-new territory, our aquarium startup guide explains the freshwater version of the same process in more depth.
Step 7: the first fish for a saltwater tank
There’s a reason every marine tank in every movie has a clownfish. The ocellaris clownfish is hardy, almost always captive-bred (no reef was harmed), packed with personality, and content in modest tanks — PetMD’s care sheet puts a pair in 20 gallons minimum, 30 for comfort. Buy two small ones together and they’ll sort out a bonded pair themselves. No anemone required, ever — captive-bred clowns happily host in rockwork or nothing at all.
The stocking rule that saves beginners: one small fish every two to three weeks, so the biofilter grows with the load. Royal grammas, watchman gobies, and banggai cardinalfish are the other classic gentle starters — our saltwater fish for beginners roster profiles ten of them with tank sizes and temperaments. One warning from decades of collective regret: skip the damselfish the store suggests as a “starter.” They’re cheap and indestructible and they turn into territorial tyrants that terrorize everything added after them. If a reef is in your future, cross-check picks against our reef-safe fish list so nothing you buy now conflicts with corals later.
Step 8: the cleanup crew — snails and shrimp
A few weeks after fish arrive, algae follows — a film on the glass, fuzz on the rock. That’s the cue to hire the cleanup crew, the invertebrate janitors that make marine tanks nearly self-cleaning.
Marine tank snails: the four-species crew
Four snails cover every surface. The trochus snail is the workhorse — a conical grazer that mows algae off glass and rock and, crucially, can flip itself back over when it falls. The cerith snail runs the night shift, working the sand surface and into the bed itself. The nassarius snail is the garbage collector: it lives buried in the sand and erupts out dramatically the moment food hits the water, cleaning up whatever the fish miss. The astraea snail polishes rock film — just know it cannot right itself, so flip any you find upside down. Skip big turbo snails in tanks under 40 gallons; they strip the algae in weeks and then slowly starve.
On numbers: ignore the old “one snail per gallon” formula. RateMyFishTank’s cleanup crew guide makes the better argument — match the crew to your tank’s actual algae, feeding, and age. Start with a small mixed handful (in a 30-gallon: three or four trochus, four cerith, three nassarius) and add more only if algae outpaces them. A starving cleanup crew is just slow-motion livestock loss. The full roster, with per-species care, lives in our reef tank snails guide.
Saltwater tank shrimp: the showpieces that work
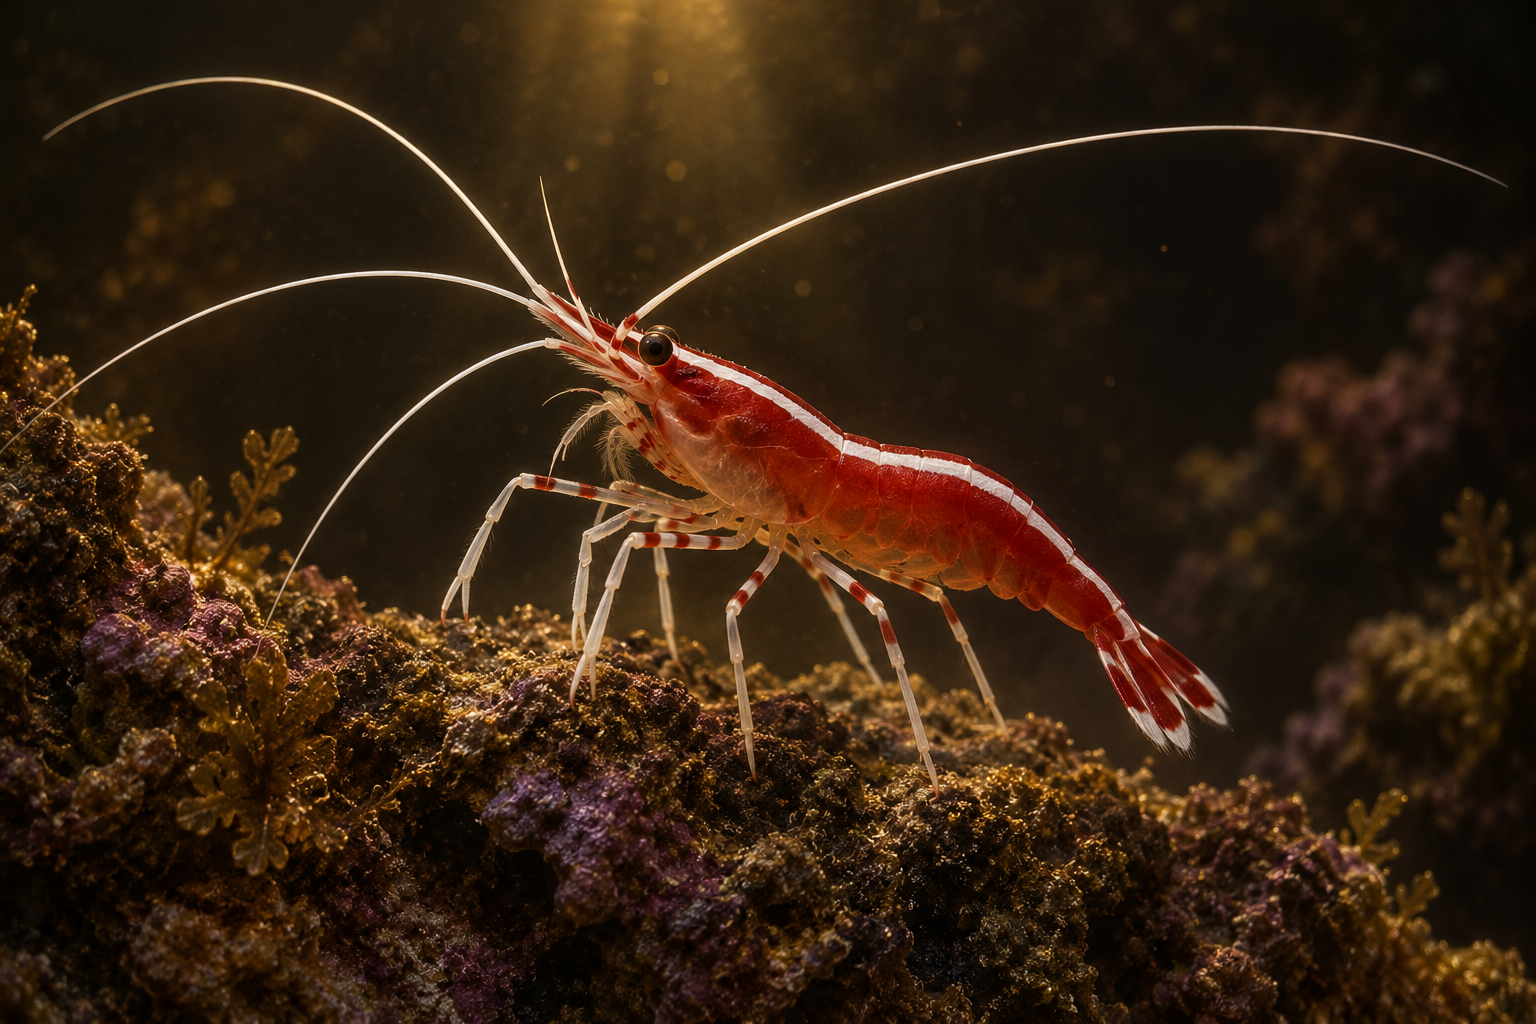
Shrimp are where the cleanup crew gets charismatic. The skunk cleaner shrimp (Lysmata amboinensis) is the star: a scarlet-and-white shrimp that sets up a cleaning station on the rock and grooms parasites and dead tissue off fish that queue up for the service — watching a clownfish hold still for its dentist appointment never gets old. The peppermint shrimp is the specialist, quietly eating aiptasia, the pest anemone that hitchhikes in on live rock. The fire shrimp is the beauty — blood red, a little shy, magnetic when it emerges. Coral banded shrimp look spectacular too; just keep exactly one, as they’re scrappy with other shrimp.
Two rules keep marine tank shrimp alive. First, wait until the tank is a few months established — shrimp are sensitive to the chemistry wobbles of new systems. Second, drip-acclimate them over an hour; invertebrates take salinity shock far harder than fish do. Skip both and the store’s return policy gets a workout.
Step 9: the maintenance rhythm
Here’s the whole ongoing job. Daily: glance at the temperature, feed lightly, and top off evaporation with plain fresh RO water — this trips up every beginner once, because salt doesn’t evaporate; topping off with saltwater quietly ratchets salinity upward until things start dying. Mark your tank’s full waterline and refill to it with fresh water only.
Weekly: test the water, scrape the glass, and change about ten percent of the volume with pre-mixed, temperature-matched saltwater — mixed the day before in that same bucket from step 5. Monthly: rinse the filter’s mechanical media in the bucket of water you just removed (never under the tap, which kills the bacteria you spent six weeks growing). That’s it. Perhaps forty minutes a week, most of it spent staring at the tank on purpose.
The five mistakes that end first marine tanks
Rushing the cycle. This is the big one. The tank looks ready at week two — clear water, rock in place, equipment humming — and the store is happy to sell you fish for it. Resist. Adding livestock to an uncycled marine tank means watching ammonia burn through animals you already care about. The test kit, not the calendar and not the salesperson, decides when the wait is over.
Topping off with saltwater. Worth repeating because it’s so sneaky: evaporation removes only water, never salt. Top off with saltwater and the salinity climbs a little every day — invisible until inverts start dying and a refractometer reading comes back at 1.030. Fresh RO water for top-offs, always; saltwater only for water changes.
Overfeeding. Marine fish beg convincingly, and every flake they don’t eat becomes ammonia and then algae. Feed what disappears in under two minutes, once or twice a day. A slightly hungry fish is a healthy fish; an overfed tank is a green one. Your nassarius snails would like some leftovers, but they’d like a stable tank more.
Stocking too fast. The biofilter grows to match its workload, and it grows slowly. Three fish added in one weekend can spike ammonia in a tank that handled one fish flawlessly. One small fish every two to three weeks feels glacial and is exactly right — the hobby rewards the patient with tanks that simply never crash.
Chasing numbers. New keepers discover testing and start correcting every small reading with additives, and the corrections cause more swings than the readings ever did. In a FOWLR, stability beats perfection: a steady salinity of 1.023 is better than one that oscillates around a “perfect” 1.025. Fix trends, not blips — and fix them slowly, with water changes rather than bottles.
Quick answers for new marine keepers
Do I need a protein skimmer? Not for a lightly stocked FOWLR under 40 gallons — weekly water changes accomplish the same export. It becomes worthwhile as stocking grows, and close to essential when corals arrive. Buy it later, when you know you’re staying.
Why is the tank suddenly covered in brown film? That’s the diatom bloom, a rite of passage in nearly every new marine tank around weeks four through eight. It looks alarming and means almost nothing — diatoms burn through the new tank’s silicates and fade on their own. The cleanup crew treats the whole event as a buffet.
Can I use tap water if I dechlorinate it? You can, and some fish-only keepers do, but tap water’s phosphates and silicates feed algae relentlessly, and chloramine sneaks past cheap conditioners. RO/DI or distilled water costs little and removes the single biggest source of mystery problems. It’s the cheapest insurance in the hobby.
How long until the tank is “established”? Cycled is week four to six; established — chemistry steady, algae phases done, rock matured — is closer to three to six months. That’s the milestone to wait for before sensitive additions like fire shrimp, and the point where the tank stops needing you to hover.
Do clownfish need an anemone? No — and beginners shouldn’t buy one. Anemones need intense light and mature, stable water, and a wandering anemone can sting everything it touches. Captive-bred clownfish live long, happy lives hosting in rockwork, a coral, or nothing at all. File the anemone next to corals: a someday purchase, not a setup one.
Fish or invertebrates first? Fish first, once the cycle ends. Snails join a few weeks later when there’s algae to eat, shrimp after the tank has some months of stability. Everything in a marine tank goes in the order of its tolerance for a young system.
What it costs, honestly — and where it goes next
A sensible 30–40 gallon FOWLR build lands in the several-hundred-dollar range all-in: tank and stand, rock and sand, heater, powerhead, filter, refractometer, salt, and test kits, then livestock added gradually. Where not to economize: the refractometer, the heater, and the salt — the three things every other outcome depends on. Where to economize freely: lighting, decor, and gadgets, at least until corals enter the picture.
And they probably will. The quiet secret of this hobby is that a FOWLR marine tank is a gateway: six months in, with stable water and a confident routine, the question stops being whether you’ll try a coral and becomes which one first. When it does, the upgrade is a light and a water-testing habit, not a new tank. Until then — mix the salt, trust the cycle, stock slowly, and enjoy owning the most interesting square foot in the house.