
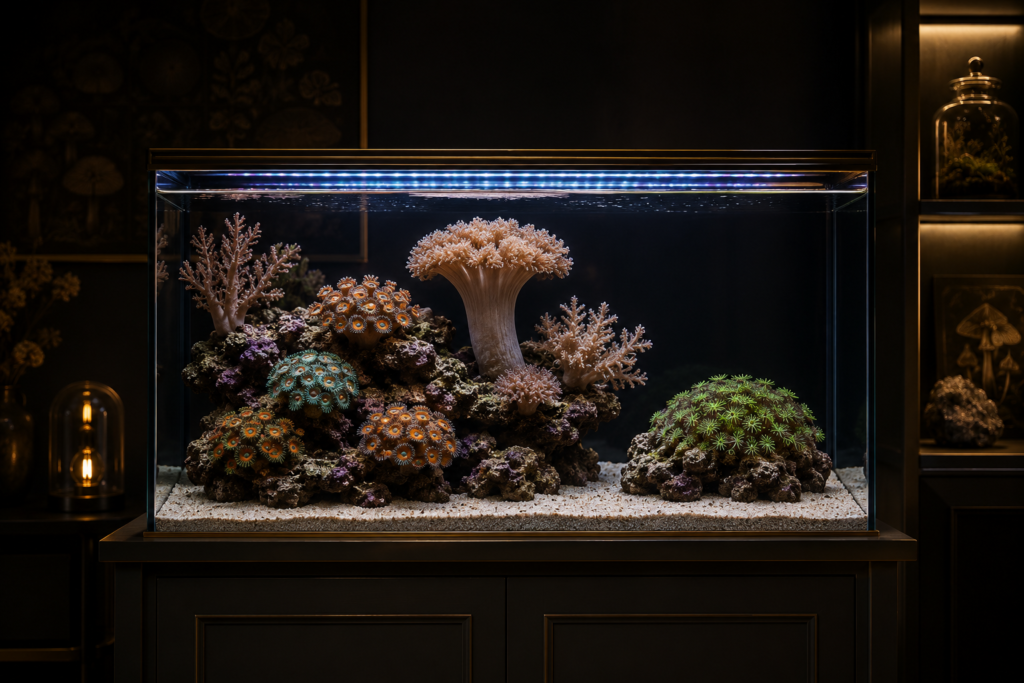
A thriving coral reef tank is the closest thing the aquarium hobby has to keeping a living painting — a glowing box of animals that build their own landscape. It is also the project most often abandoned in the first year, and almost never because it was too hard. It fails because someone did the right things in the wrong order, or chased perfect numbers instead of steady ones. This guide walks you through your first coral reef tank the way experienced reefers actually build one: size, equipment, cycling, chemistry, corals, and fish, in that order.
ItsyBitsyPets is reader-supported. As an Amazon Associate we earn from qualifying purchases — at no extra cost to you. See our affiliate disclosure.
One idea underpins everything that follows, so let’s name it now: in reef keeping, stability beats perfection. A tank held steadily at slightly imperfect values will grow coral. A tank yanked back and forth between textbook-perfect values will not. Keep that in mind every time a number tempts you to intervene.
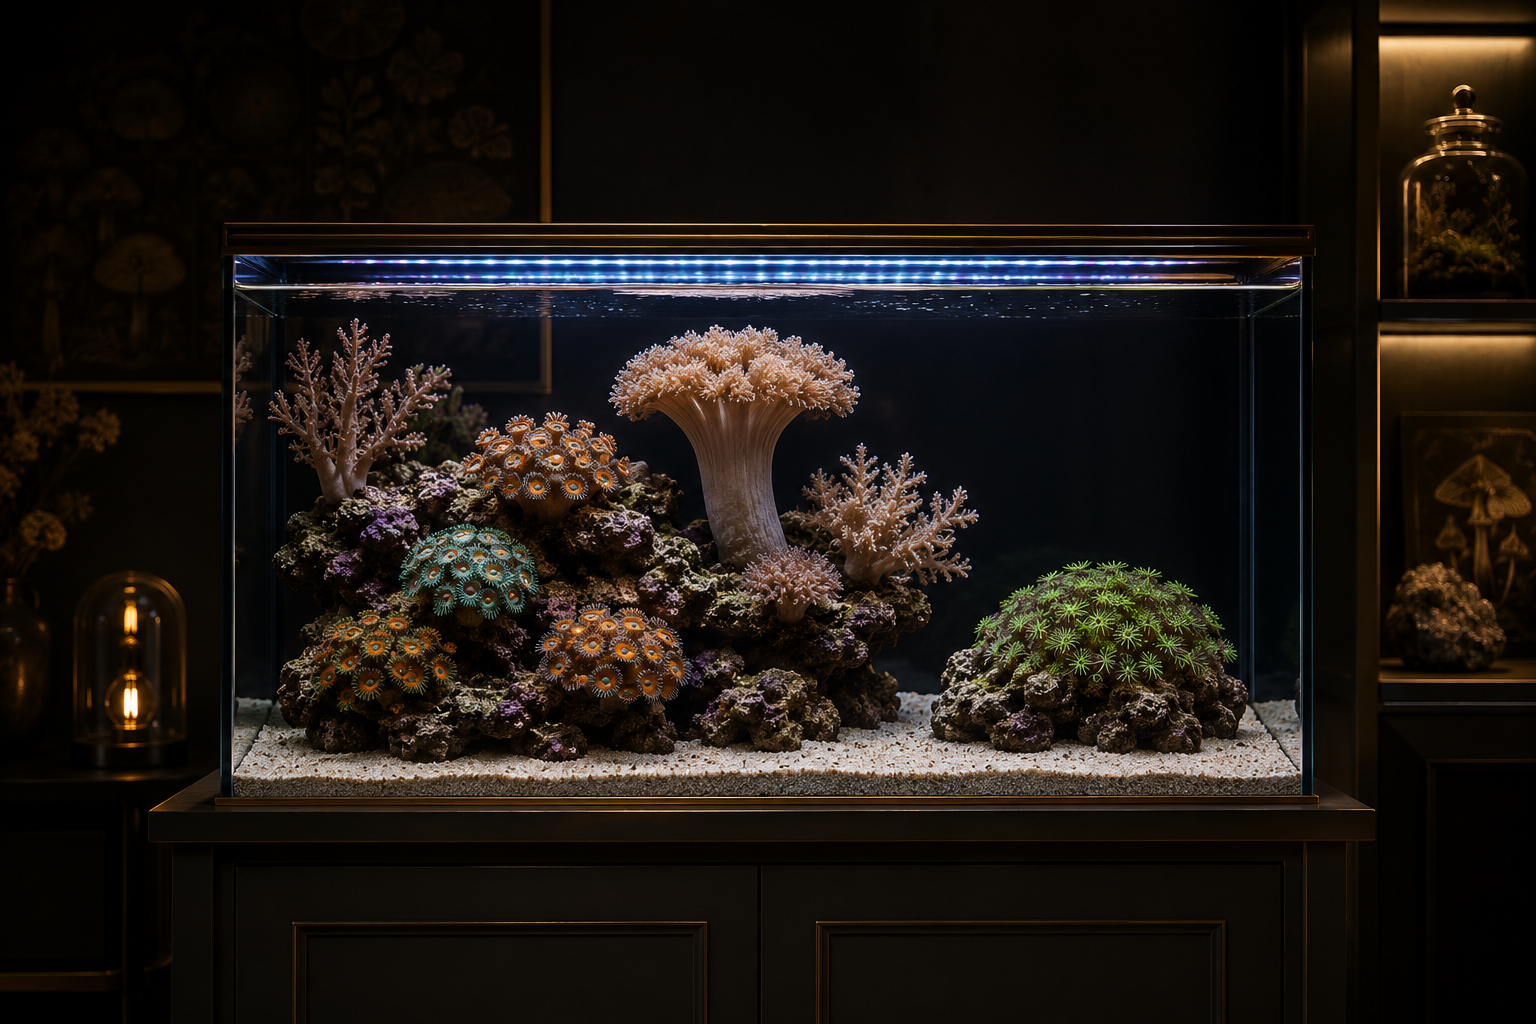
What makes a coral reef tank different
Corals look like plants and get treated like decorations, but they are animals — colonies of tiny polyps related to jellyfish and anemones. Most of the corals kept in home reefs host microscopic algae called zooxanthellae inside their tissue. Those algae photosynthesize and feed the coral, which is why light is literally food in a reef, and why a reef needs chemistry a fish-only tank never worries about: the coral is constantly pulling calcium and carbonate out of the water to build its skeleton and tissue.
That is the whole difference. A fish-only saltwater tank asks you to keep ammonia at zero and salinity steady. A coral reef tank adds a second job: keep the water’s mineral chemistry — alkalinity, calcium, magnesium — inside a healthy window and, above all, keep it steady. As the reef chemists at ATI North America put it, sudden swings — especially in alkalinity — stress corals and can cause tissue loss. Stability is not one goal among many; it is the goal.
Choosing your tank size (bigger is easier)
The counterintuitive truth of reef keeping: a larger tank is easier than a small one. More water means chemistry drifts more slowly, temperature holds steadier, and a mistake — an overfeed, a dead snail, a heater hiccup — dilutes instead of spiking. For a first coral reef tank, something around 40 gallons is a genuine sweet spot: big enough to be forgiving, small enough that water changes stay pleasant.
Nano reefs under 20 gallons absolutely work — we built one step by step in our nano reef tank setup guide — but understand the trade: the same evaporation, feeding, and dosing that a 40-gallon shrugs off will swing a 10-gallon hard. If your budget or space says nano, go in with that eyes-open. All-in-one (AIO) tanks, which hide the heater, pump, and filtration in a rear chamber, are a beginner-friendly middle path, and the cube formats we covered in our cube saltwater tank guide make handsome reefs.
Equipment you actually need
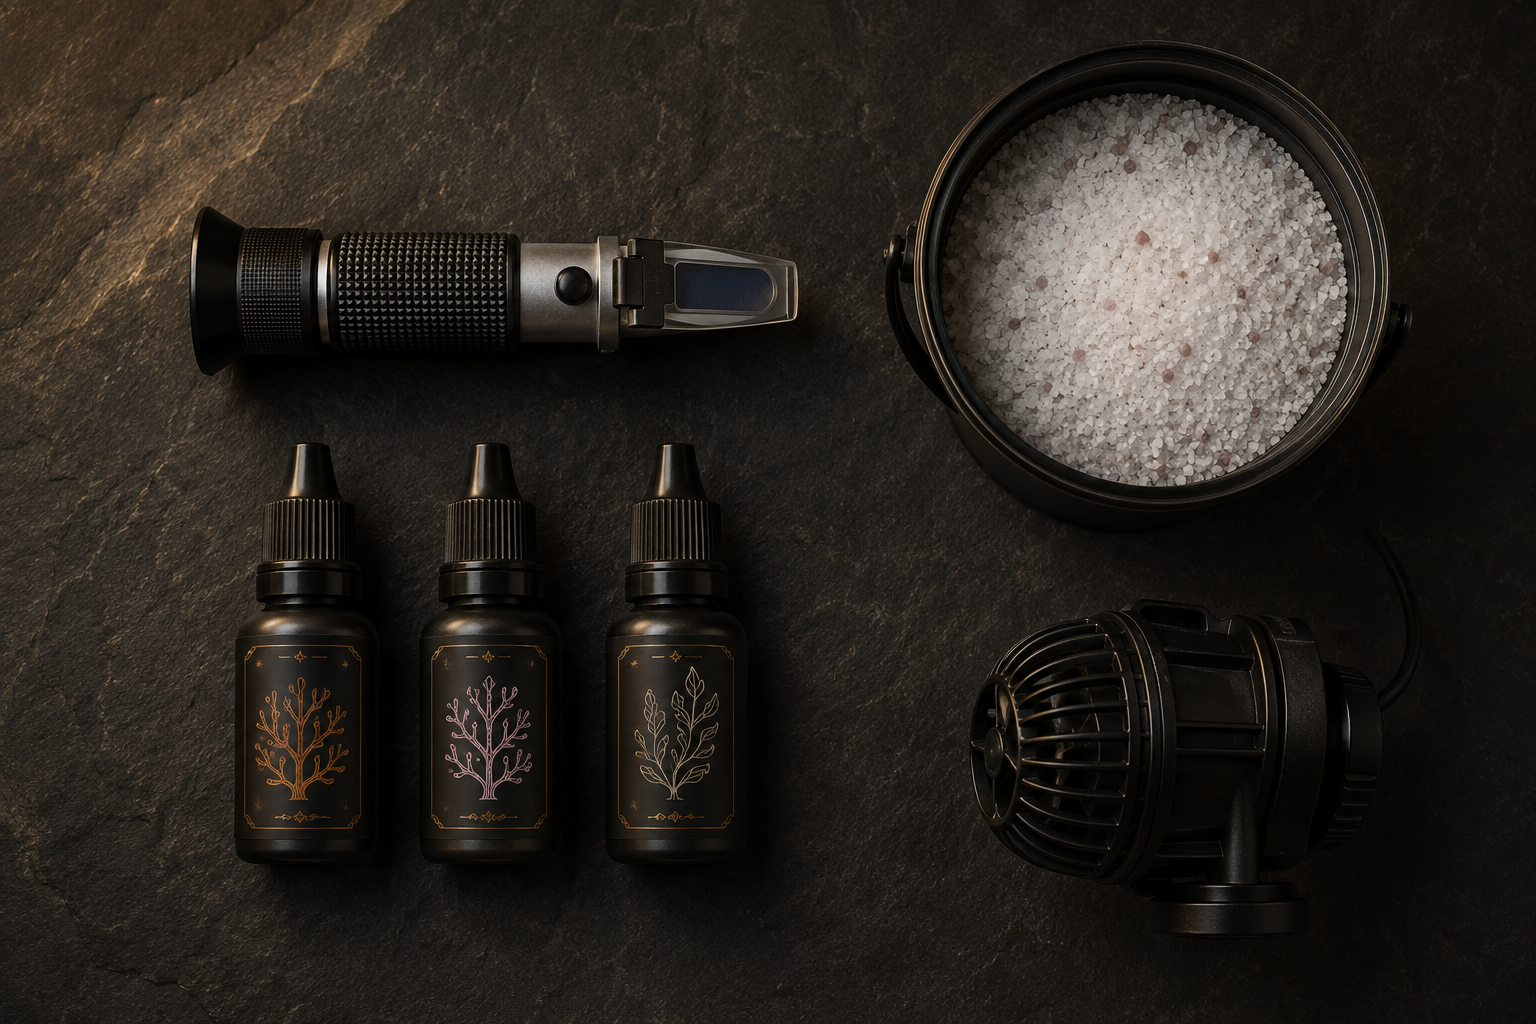
Reef gear catalogs are deep enough to drown in, so here is the honest core list, the same one Reef Builders arrives at: the tank and stand, a reliable heater and thermometer, a return pump if your tank has a sump or rear chamber, one or two wavemakers for flow, a reef-capable LED light, and an RO/DI unit to make pure water. That last item surprises new keepers, but a 4-stage RO/DI unit is not optional in the long run — tap water carries phosphate, silicate, and metals that feed algae and irritate coral, and every veteran wishes they had bought the filter before the algae bloom instead of after.
For measuring, you need a refractometer — not the cheap swing-arm hydrometer, which drifts badly — plus test kits for ammonia, nitrite, nitrate, alkalinity, calcium, magnesium, and phosphate. A quality reef salt mix rounds out the shopping list. A protein skimmer is genuinely optional on a lightly stocked soft-coral tank at the start; add one as your fish load grows.
Reef lighting explained (without the physics degree)
Light is coral food, and the practical unit of coral food is PAR — a measure of how much usable light reaches a given spot. Here is the number that matters for a beginner: the soft corals you should start with thrive at low to moderate light, roughly 50 to 150 PAR, per Top Shelf Aquatics’ soft coral guide. Nearly any modern programmable LED reef light delivers that comfortably in a standard-depth tank.
The mistake to avoid is the intuitive one: more light is not better. Blast soft corals with high-end intensity and they close up, bleach, or grow algae on their own tissue. Run your lights 6 to 8 hours a day at reduced intensity through the cycle and the early months, then ramp the photoperiod and intensity gradually once the tank has matured — six weeks or more after cycling. A tank that gets light slowly earns its corals; a tank that gets light instantly grows hair algae.
Setting up and cycling your reef
Setup day is simple and pleasant. Rinse the tank, place it on a level stand, and aquascape your rock — dry rock or live rock — into stable structures with caves and shelves, gluing or interlocking pieces so a snail cannot trigger a landslide. Add your sand, then fill with salt water you have mixed to 1.025 specific gravity using RO/DI water, verified with the refractometer. Heater to 78°F, wavemakers on, and the waiting begins.
The cycle is the same nitrogen cycle every aquarium goes through — we cover the biology in our how to start an aquarium guide — but a reef asks for extra patience. You are growing bacteria that convert toxic ammonia to nitrite and nitrite to nitrate, and the tank is ready for its first hardy livestock only when ammonia and nitrite both read a clean zero, typically four to eight weeks in. Somewhere in the first few months you will also meet the “ugly phase”: brown diatom film, then patchy algae blooms as the young tank finds its balance. Every reef goes through it. The keepers who succeed are the ones who wait it out instead of nuking it with chemicals.
Coral reef tank water parameters: the numbers that matter
Here is the target chemistry for a coral reef tank, straight from the parameter guides reef keepers actually use: salinity at 1.025 specific gravity, temperature 77 to 79°F, pH 8.1 to 8.4, alkalinity 8 to 12 dKH, calcium 400 to 450 ppm, and magnesium 1250 to 1350 ppm. Ammonia and nitrite must be zero; nitrate should be low but not zero, because corals need some nutrients to eat.
Read those ranges again and notice how wide they are. Alkalinity anywhere from 8 to 12 dKH grows coral beautifully — what kills coral is alkalinity that is 8 on Monday and 11 on Thursday. This is why every experienced voice repeats the same advice: pick a value inside the range, and keep it there. Test weekly, write the numbers down in a log, and correct slowly when something drifts. In a soft-coral beginner tank, your regular water changes will usually replenish calcium and alkalinity all by themselves — dosing is a chapter for later, when stony corals start consuming minerals faster than water changes replace them.
Best beginner corals: the soft coral lane
Your first corals should be soft corals — hardy, adaptable animals that forgive the small fluctuations every new tank produces, as both Bulk Reef Supply’s beginner coral guide and Top Shelf Aquatics stress. Stony corals — LPS first, delicate SPS last — demand tighter chemistry and belong to your second year, not your second month. These four softies are the classic starting lineup.
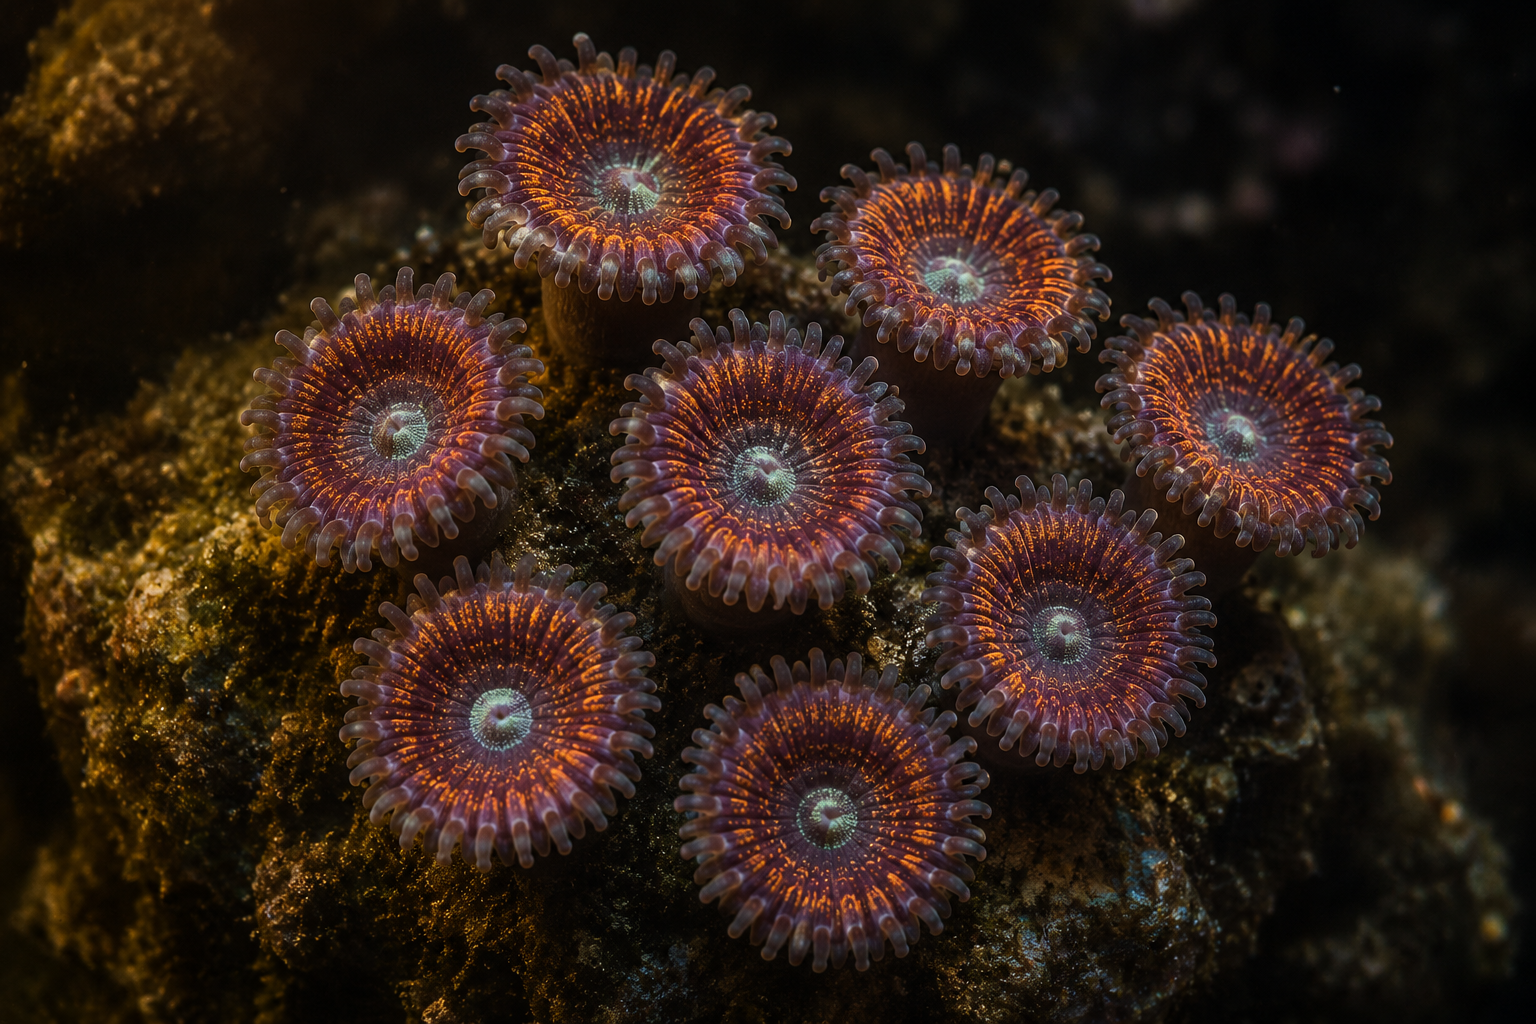
Zoanthids (“zoas”) are colonial polyps that come in hundreds of dazzling color morphs, and collecting them is a hobby within the hobby. They tolerate a wide range of lighting and flow, opening happiest under medium light with enough moderate flow to keep debris from settling between polyps. A frag of a few polyps slowly carpets its rock in glowing rings.
Mushroom corals (Discosoma and Rhodactis) are as close to indestructible as coral gets. Low light, gentle flow, imperfect parameters — mushrooms shrug and multiply anyway, dropping tissue fragments that grow into new mushrooms. If a mushroom dies, the tank was telling you something serious.
Toadstool leather corals (Sarcophyton) grow into elegant tree-like stalks with a crown of waving polyps. They like medium to high flow, which helps them shed the waxy film they periodically produce. One honest requirement: leathers release defensive chemicals into the water as they grow, so run a bag of activated carbon in your filtration to absorb them — standard practice in any softie tank.
Green star polyps (GSP) form a purple mat that erupts in waving green polyps, growing fast enough to watch week by week. That speed is also the warning: give GSP its own island rock separated by sand, or it will happily overgrow everything it touches. On its island, it is spectacular and utterly unkillable.
Adding fish and a cleanup crew
Fish come after the cycle, slowly — one or two small hardy fish at a time, with weeks between additions so your bacteria keep pace. In a reef, every fish must also be reef-safe, meaning it will not eat your corals or invertebrates. Our reef-safe fish guide covers nine species that leave corals alone, and our saltwater fish for beginners list overlaps it generously — clownfish being the beloved intersection of both.
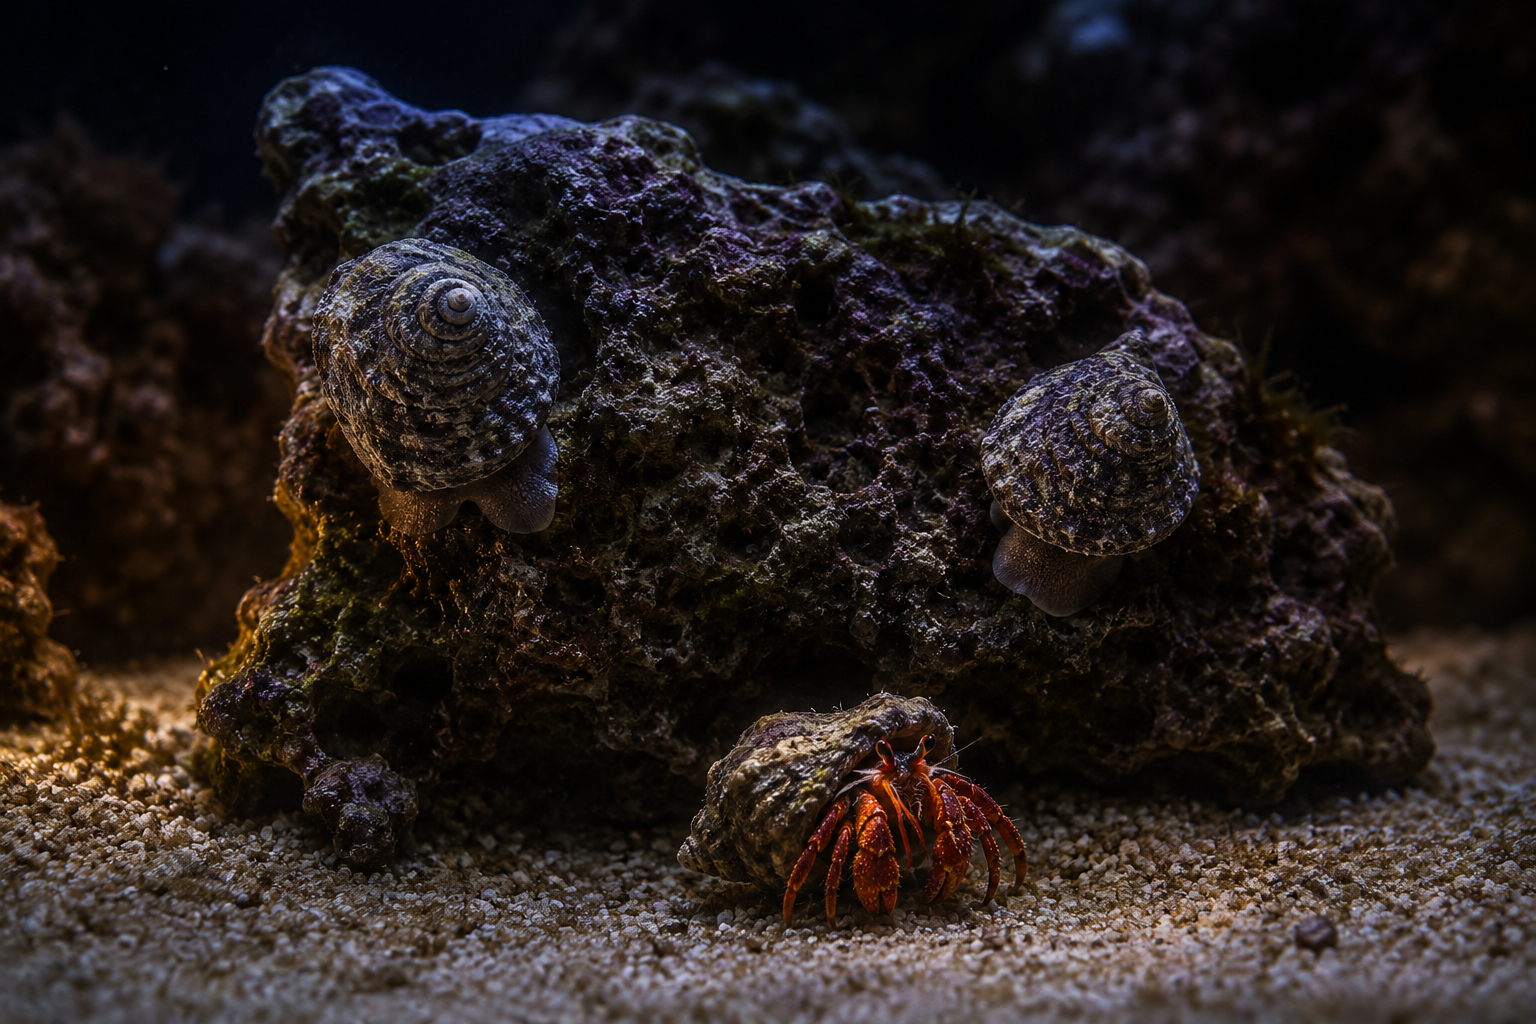
The cleanup crew is your maintenance staff: trochus and astraea snails mow algae off rock and glass, nassarius snails burrow and clean up leftover food, and a few small hermit crabs patrol everything else. Add them after the first algae appears — a cleanup crew in a spotless new tank has nothing to eat. And remember the invertebrate rule that spans every tank we write about: never dose a copper-based medication in a reef display. Copper that a fish tolerates will kill snails, crabs, shrimp, and corals outright.
Your maintenance routine (one calm hour a week)
A settled soft-coral reef runs on a routine so short it fits on an index card. Daily: glance at the tank — open corals, active fish, temperature on the thermometer — and top off evaporation with plain RO/DI fresh water. This trips up every newcomer once: salt does not evaporate, only water does, so topping off with salt water quietly ratchets your salinity upward day after day. Fresh water for top-off, always.
Weekly: change about 10 percent of the water with pre-mixed, temperature-matched salt water, test salinity, alkalinity, and nitrate, and log the numbers. That log is your early-warning system — a slow alkalinity slide is invisible day to day and obvious across three weekly entries. Monthly: rinse the wavemaker and return pump, swap the activated carbon, and check your RO/DI filter cartridges. That is the whole job. An hour a week keeps a reef that looks like it takes ten.
What a coral reef tank really costs
Honest numbers, because the sticker shock is better met in an article than at a register. A 40-gallon coral reef tank built with mid-range equipment — tank and stand, heater, two wavemakers, a capable LED fixture, RO/DI unit, refractometer, test kits, rock, sand, and salt — typically lands somewhere between $800 and $1,500 before a single animal goes in. A nano build can halve that; a large tank with a sump and skimmer can triple it. Livestock is the slow, pleasant part of the spend: beginner coral frags run $10 to $40 each, cleanup crew members a few dollars apiece, and hardy reef fish $15 to $40.
Two budgeting rules save the most regret. First, buy the boring infrastructure — RO/DI, refractometer, test kits — before the exciting things, because skimping there creates problems that cost more than the gear did. Second, spread livestock purchases across the whole first year. The tank genuinely benefits from slow stocking, and so does your wallet: a reef assembled frag by frag costs the same as one impulse-bought in a month, but nearly all of it survives.
Ongoing costs are modest once the build is done: salt mix, replacement RO/DI cartridges, carbon, food, and electricity — for most beginner reefs, roughly the price of a streaming subscription or two per month. The hobby is expensive to enter and cheap to keep, which is the opposite of how most people budget for it.
Common beginner mistakes (we have made most of them)
The classic coral reef tank failures are wonderfully predictable, which means they are avoidable. The greatest of them is chasing numbers: testing daily, dosing corrections, and swinging the chemistry harder than neglect ever would. Test weekly, correct gently, and trust the range. The second is speed — stocking a month-old tank like a year-old one, or buying that gorgeous SPS acropora in month two because the store had it under perfect light. The coral that survives your learning curve is a mushroom, not an acropora.
The rest of the list: cycling with the lights blasting, which grows an algae farm before the tank can defend itself. Using tap water and spending months fighting the phosphate it imported. Trusting a swing-arm hydrometer that reads 1.025 when the truth is 1.029. And skipping a dip or quarantine for new corals, which is how aiptasia anemones and other hitchhiking pests colonize a display. Every one of these costs more to fix than to prevent.
The first-year roadmap
Here is the whole guide compressed into a calendar you can pin above the tank. Months one and two: equipment, aquascape, salt water, cycle, lights low, hands off. Month three: first hardy fish, first cleanup crew as algae appears, weekly routine begins. Months four to six: first soft corals — mushrooms and zoas, then a leather, GSP on its island — with light ramping gradually. Months seven to twelve: stock slowly toward your final fish list, let coral colonies establish, and consider your first LPS stony coral only when your log shows months of steady alkalinity.
Keep the log going all year. Twelve months of weekly entries — salinity, alkalinity, nitrate, what you added, what you noticed — turns your own tank into the best reference book you will ever own, and it is the first thing to reread whenever something looks off.
That pace will feel slow in the store and fast in the memory. Somewhere around the one-year mark you will look at a glowing, self-maintaining slice of reef in your living room and realize the secret was never expensive equipment or exotic chemistry — it was ordinary patience, applied weekly. If a broader grounding in marine keeping would help first, start with our saltwater aquarium setup guide — and when the reef bug bites, welcome to the deep end of the hobby. It is worth every quiet week of waiting.