
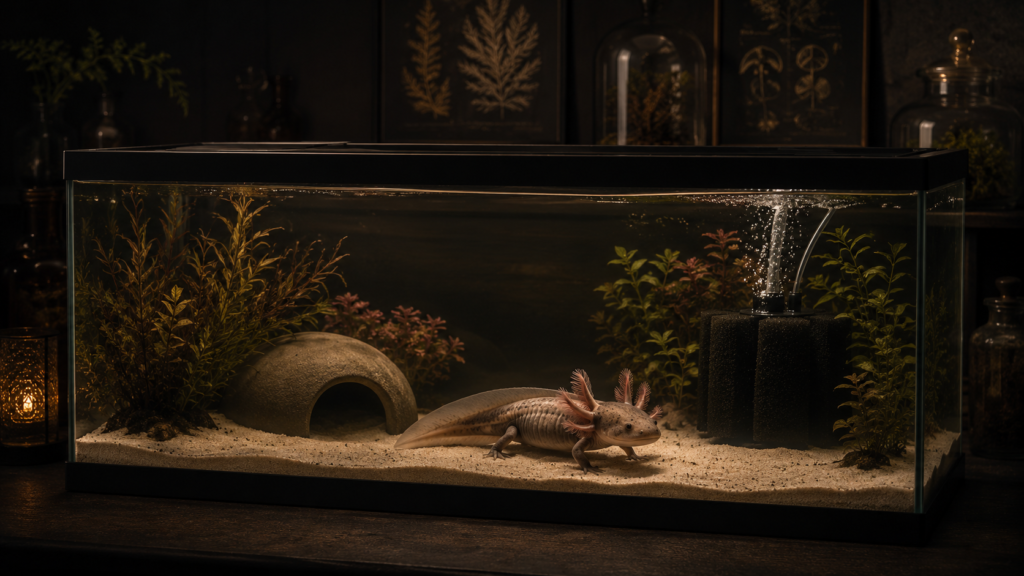
Get the axolotl tank setup right before the animal ever arrives and you
skip almost every problem new keepers run into. Get it wrong and you spend the
first month firefighting: fuzzy gills, refused food, an animal parked in the
corner looking miserable. The difference isn’t luck or a green thumb — it’s four
decisions made in the right order: a long tank, cold and still water, a safe
floor, and a fully cycled biological filter. Buy those once, correctly, and the
rest of axolotl keeping is a fifteen-minute weekly habit. Here’s the complete
setup, keeper to keeper.
ItsyBitsyPets is reader-supported. As an Amazon
Associate we earn from qualifying purchases — at no extra cost to you. See our
affiliate
disclosure.
Axolotl tank setup at a glance
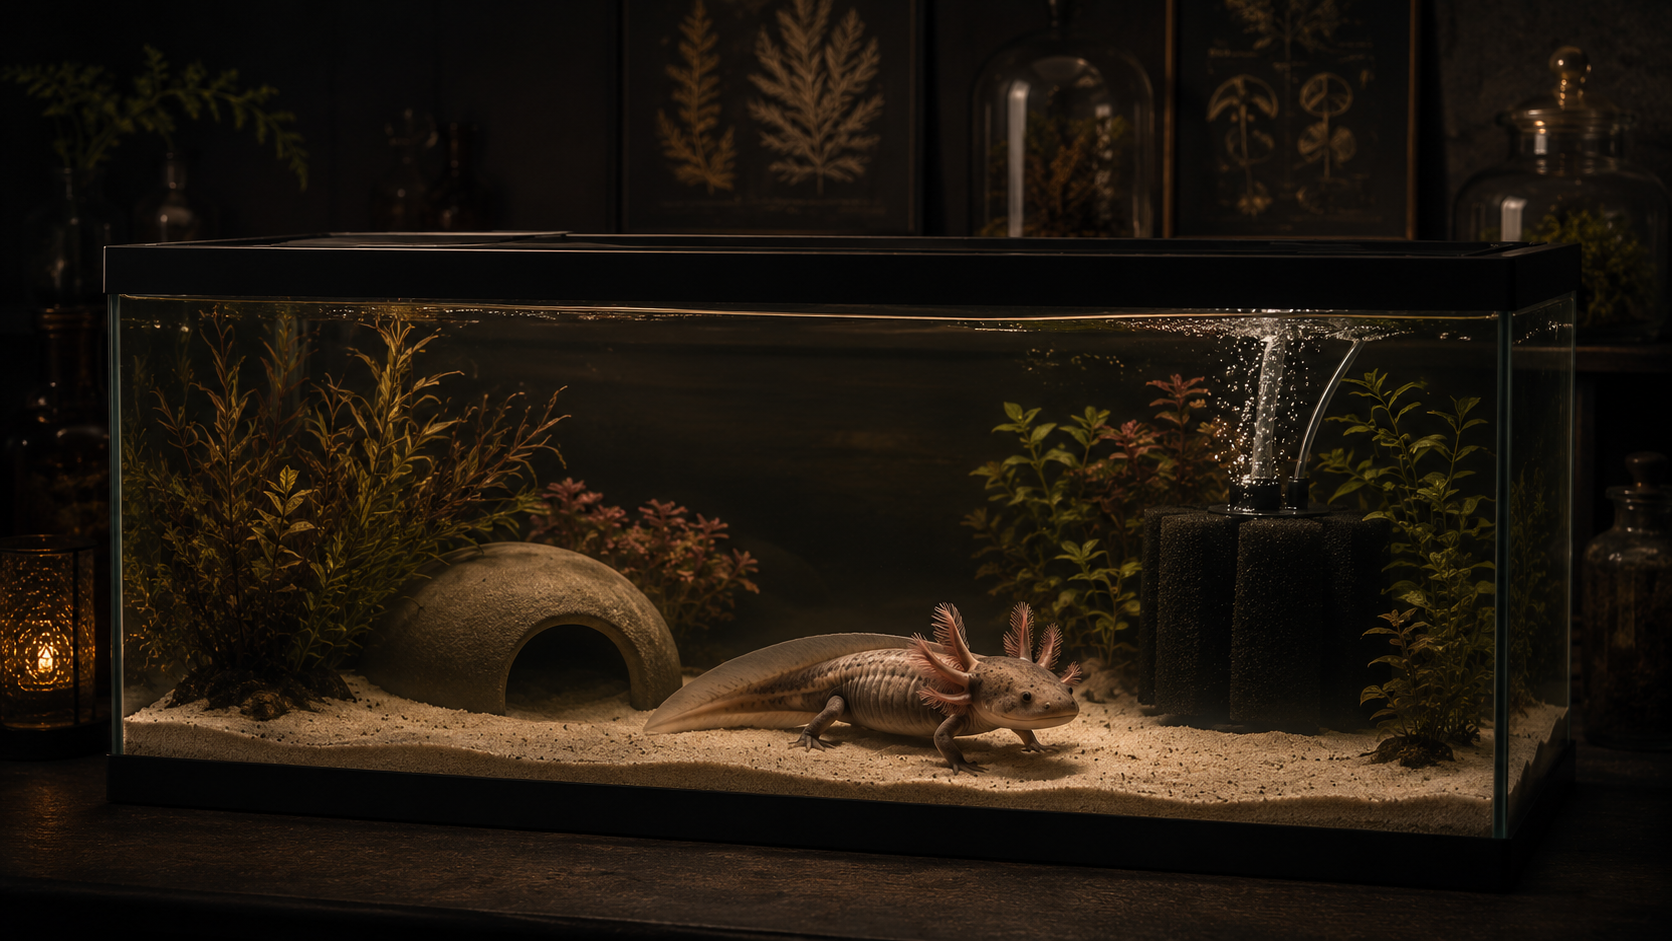
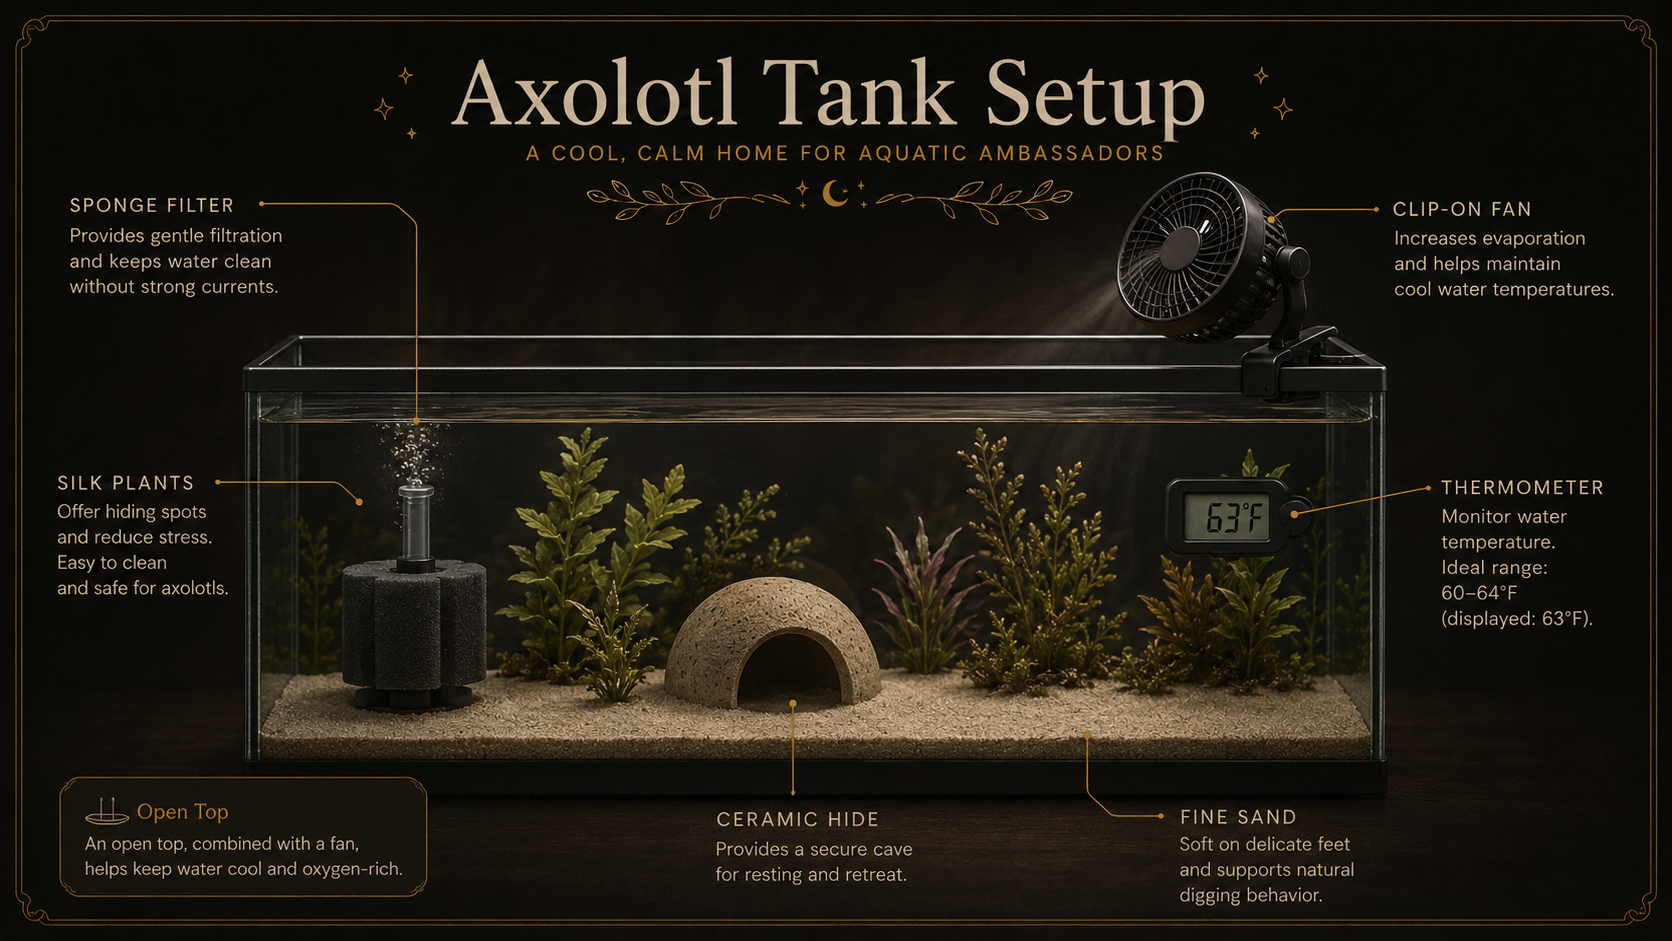
Before we go deep on each piece, here’s the whole axolotl tank setup in one
place. If you
buy to this list and cycle the tank before the axolotl comes home, you are
already ahead of most of the hobby. Every item earns its place below.
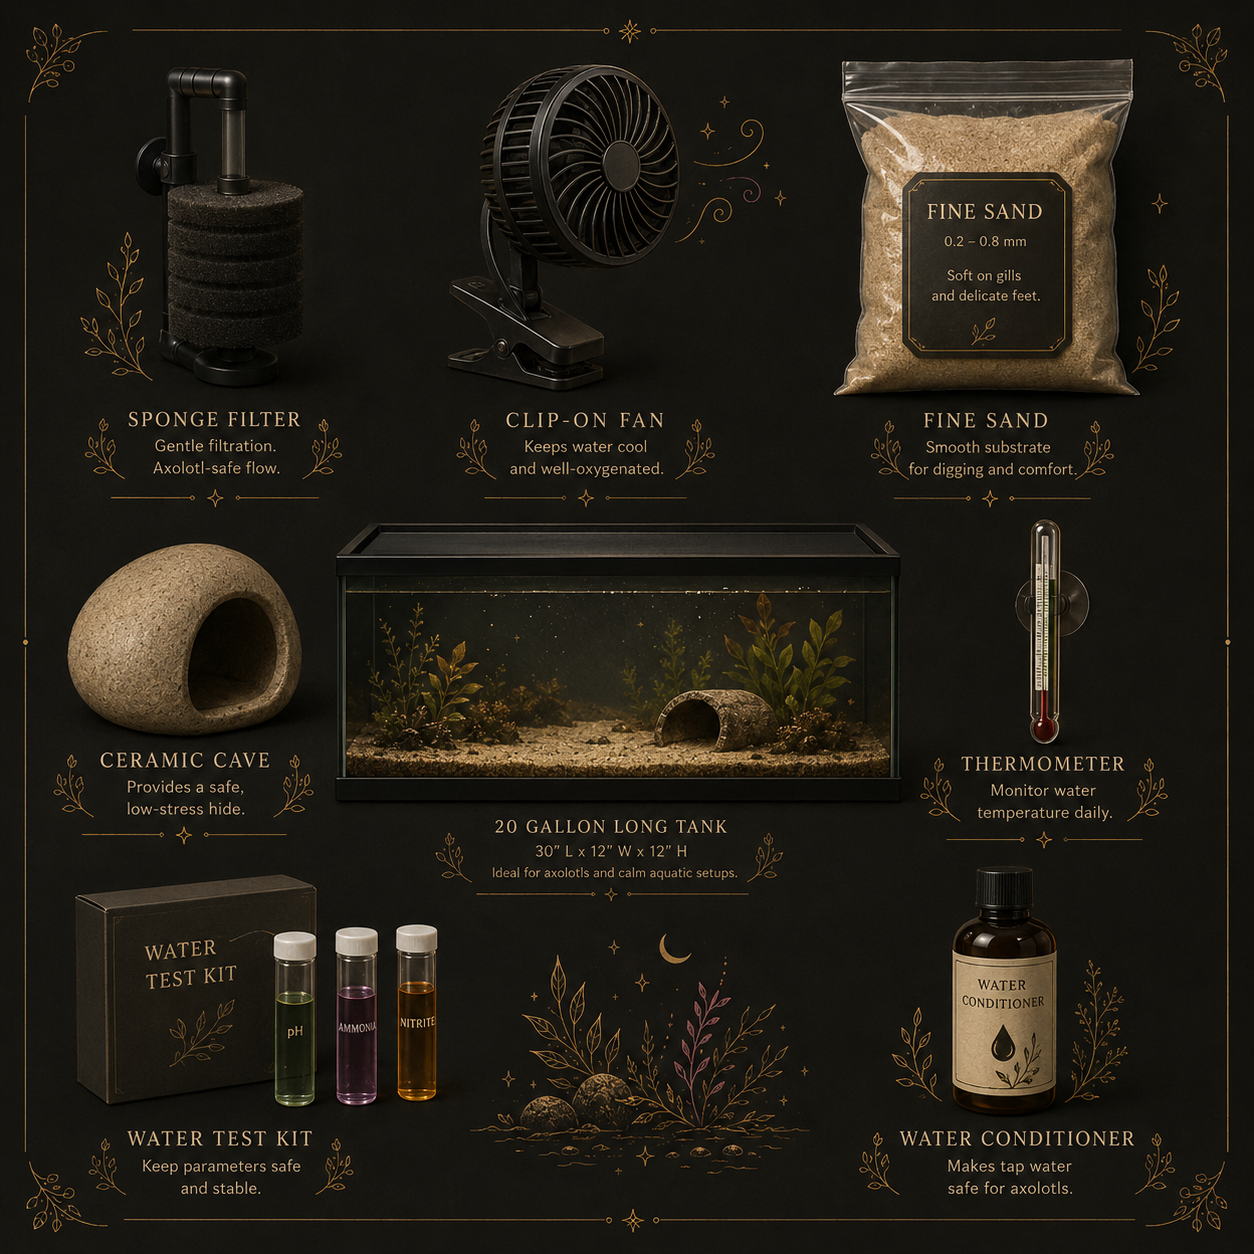
- Tank: 20-gallon long minimum for one adult (29-gallon is
better) — floor space over height - Filter: a gentle sponge filter with an air pump, or a
baffled hang-on-back - Temperature control: a clip-on fan or an aquarium chiller —
never a heater - Substrate: bare bottom or very fine sand under 1 mm —
never gravel - Hides and decor: at least one smooth cave per axolotl, plus
silk or cool-water plants - Monitoring: a thermometer and a liquid test kit
New to the whole aquarium side of this and want the fundamentals first? Our
how to
start an aquarium guide walks through tanks, filters, and cycling from
scratch, and pairs neatly with everything here.
Axolotl tank size: floor space beats gallons
Axolotls are bottom dwellers. They walk far more than they swim and spend the
overwhelming majority of their time patrolling the tank floor, almost never using
the upper water column. That single fact drives the whole tank decision: when you
shop, you are shopping for floor area, not height. Two tanks of identical volume
are not equal to an axolotl — the long, wide one wins every time.
For a single adult, a 20 gallon axolotl tank in the “long”
configuration (roughly 30 by 12 inches of footprint) is the working minimum.
Step up to a 29-gallon or a 40-breeder and you gain something more valuable than
room to roam: a larger volume of water dilutes waste, buffers temperature swings,
and forgives the occasional missed water change. This is why experienced keepers
and the care team at Aquarium
Source nudge beginners toward the bigger footprint whenever the stand and
budget allow.
Whatever the axolotl tank size, a solid stand and a lid both matter. A
full glass tank is heavy and unforgiving of a wobbly surface, and while axolotls
rarely try to climb out, a lid keeps cats, dust, and the occasional startled leap
in check. Leave the lid slightly open or vented, though — open-top evaporation is
one of your best free cooling tricks, and we will come back to that.
Choosing the tank itself
You do not need anything exotic. A standard rimmed glass aquarium is perfect,
and the humble 20-gallon long is one of the most common — and most affordable —
sizes on the market for a reason. A good starting point is a
20-gallon long
aquarium with a matching lid, which gives one adult axolotl the floor it
needs without dominating a room. If you have space, size up; you will not regret
the extra water.
Skip anything tall and narrow — a hexagon, a column, a “betta cube.” They
look striking and they waste nearly all their volume on an axolotl, who will only
ever use the bottom few inches. Skip bowls entirely: they cannot hold a stable
temperature or a working biological filter, and stability is the entire game with
this animal. If the footprint fits on a nightstand, it does not fit an axolotl.
Water temperature: cold is the whole game
If you take one number away from this guide, make it the temperature. Axolotls
are cold-water animals, and their water belongs between 60 and
68°F, with the low-to-mid 60s ideal — many keepers aim for 60 to 64°F
and treat the mid-60s as the ceiling. There is no heater in an axolotl tank,
ever. Sustained warmth above roughly 72°F causes real, cascading harm: suppressed
appetite, a weakened immune system, and the fungal infections that turn healthy
fluffy gills into cottony fuzz within days.
In most homes the enemy is summer, not winter. An open-top tank sitting in an
air-conditioned room often holds the low-to-mid 60s all on its own through
surface evaporation. When the room runs warm, you have two tools. The cheaper one
is a clip-on aquarium
cooling fan aimed across the water surface, which drives evaporative cooling
and can pull the water down by several degrees — a genuinely effective fix in dry
climates, and less so in humid ones. As
Axolotl
Central’s cooling guide notes, a fan buys you a handful of degrees for very
little money.
The heavy-duty tool is a dedicated
aquarium
chiller. A chiller is a small refrigeration unit plumbed inline with your
filter that holds the tank at a set temperature no matter how hot the room gets.
It is the more expensive route, but in a warm climate or a home that can’t hold
water under 70°F, it is not a luxury — it is the difference between a thriving
axolotl and an emergency. Either way, verify the temperature every day with a
digital aquarium thermometer on the glass. Guessing at temperature is exactly
how gills go fuzzy.
Filtration: strong biology, gentle flow
Axolotls create a filtration puzzle. On one hand, they are messy animals that
produce far more ammonia than a fish of comparable size, so you need meaningful
biological filtration — a good rule of thumb is a filter rated well above your
actual tank volume. On the other hand, axolotls evolved in still lake water and
genuinely hate current. The classic sign of too much flow is gills curled
forward toward the face, as if the animal is permanently walking into a
headwind.
The elegant answer to both problems at once is an air-driven
sponge filter
run off an air pump. A sponge filter is quiet, cheap, and creates almost no
current, while the sponge itself becomes prime real estate for the beneficial
bacteria that keep the water safe. For a 20-gallon long, a double sponge filter
gives plenty of surface area with a gentle bubble. It is, for most keepers, the
single best filtration choice for this animal.
Prefer a hang-on-back filter for its convenience? You can use one, but you
must break the current. Baffle the outflow with a pre-filter sponge, a spray bar,
or a piece of decor so the surface barely ripples rather than churns. Whatever
you choose, the goal is the same: strong biological capacity, still water at the
axolotl’s level. Cold water, still water, clean water — that is the entire
recipe.
Substrate: the gravel rule with no exceptions
Axolotls feed by suction. They lunge at food and inhale everything in front of
their face — including whatever happens to be underneath it. That feeding style
makes substrate a genuine safety decision, not a decorating one. Gravel is how
axolotls die: pieces between roughly 2 and 15 millimeters are just big enough
to fit in the mouth and just too big to pass through the gut, so they accumulate
and cause impaction — a blockage that stops the animal eating and defecating and
is frequently fatal. No gravel, no pebbles, no decorative stones small enough to
fit in a surprisingly large mouth. This rule has no exceptions.
You have two safe floors. The first is bare bottom — nothing
on the glass at all. It carries zero impaction risk, cleans in seconds with a
turkey baster, and is the only correct choice for juveniles under about six
inches, whose narrower gut can be blocked even by fine sand. It looks a little
clinical and is slightly slippery, but it is bulletproof.
The second is very fine sand with a grain size under one
millimeter, the kind sold as fine aquarium or play sand once it’s rinsed. Grains
that small are too tiny to cause a blockage and pass harmlessly if swallowed,
while giving the axolotl’s toes something to grip. Reserve loose sand for adults
over six inches, keep the layer thin, and choose a
fine aquarium
sand made for aquariums rather than a coarse builder’s grade. Smooth tile or
slate laid on the glass is a third fine option, as long as every edge is soft.
Hides and decor: dark, smooth, and calm
An axolotl with nowhere to hide is a stressed axolotl. Provide at least one
hide per animal — a ceramic cave, a smooth aquarium ornament, or a length of
wide PVC pipe all work, and a
ceramic axolotl
cave hide designed for the job saves you from testing whether a random
decoration has a hidden sharp edge. That last point is the golden rule of axolotl
decor: nothing sharp. Their skin is soft, permeable, and tears easily, so run
your finger over every surface before it goes in the tank.
Keep the tank dim. Axolotls have no eyelids and instinctively avoid bright
light, so a heavily lit, brilliantly planted display tank is more stressful to
them than beautiful. Silk plants are foolproof; if you want live plants, choose
low-light, cool-tolerant species such as java fern, anubias, or elodea, which
double as gentle nitrate sponges. A shaded corner, a couple of plants, and a
dark cave read as “home” to an axolotl, not as a sad, empty tank.
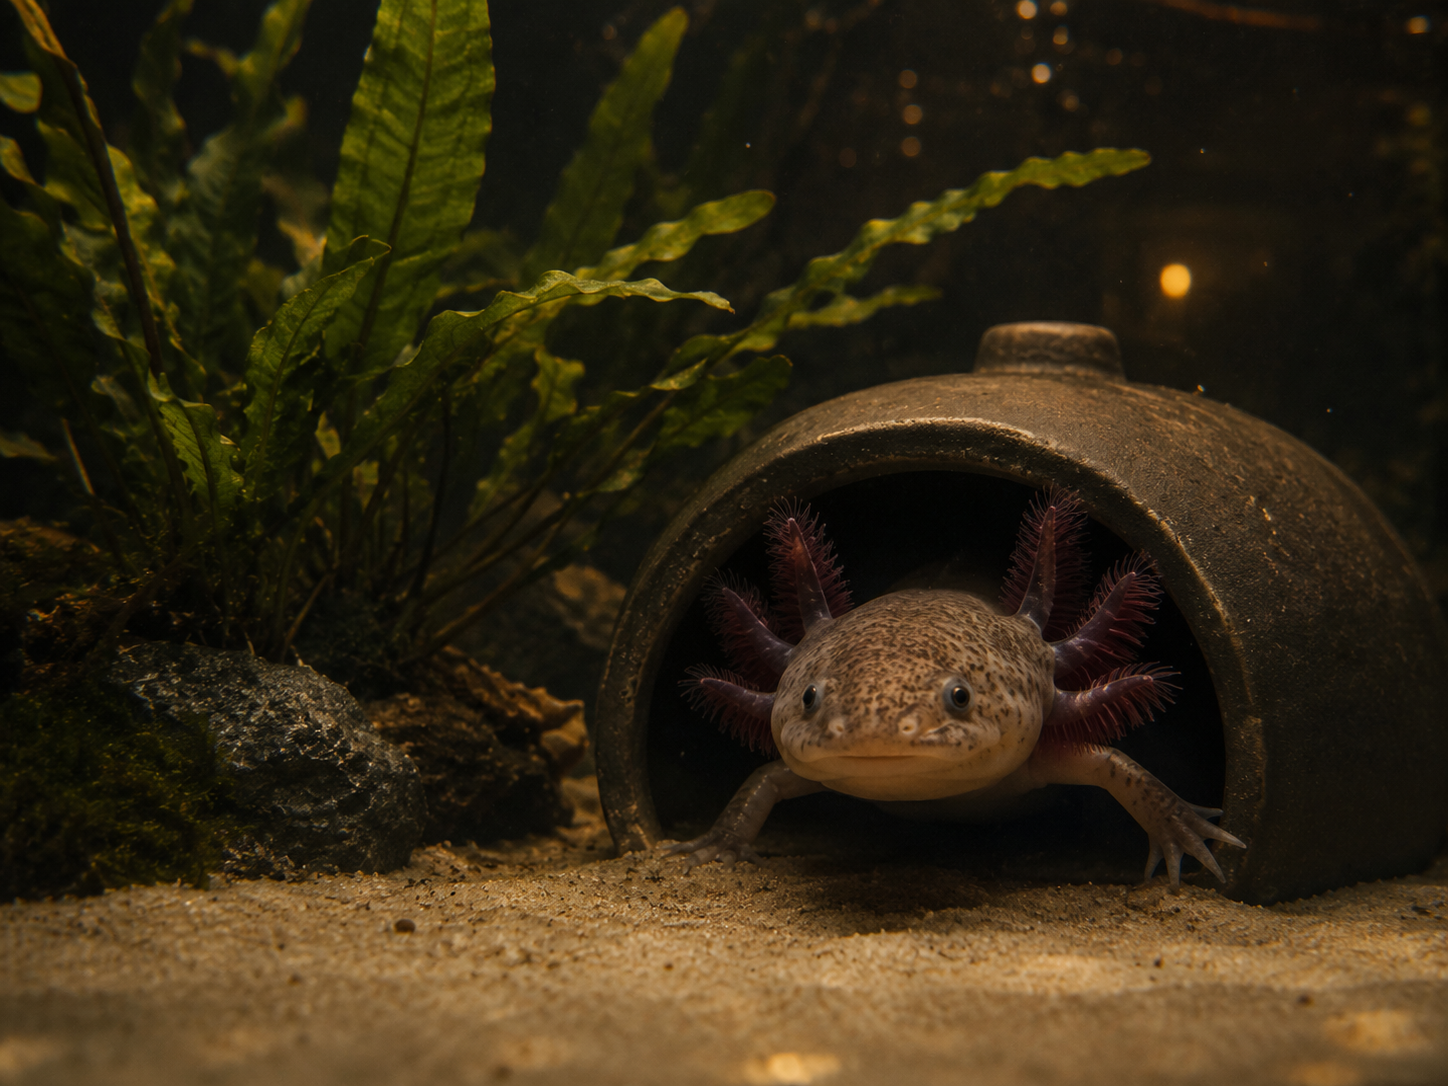
Cycling: the invisible step that keeps them alive
Here is the step new keepers skip and then regret. A brand-new tank has no
biological filter — no colony of bacteria to convert the ammonia the axolotl
produces into progressively safer compounds. Drop an axolotl into an uncycled
tank and ammonia climbs to lethal levels within days, burning gills and skin at
concentrations you can’t see. Skipping the cycle is the single most common cause
of death in new axolotls, and it is completely avoidable.
The nitrogen cycle is the process of growing two bacterial colonies: one that
turns ammonia into nitrite, and one that turns nitrite into far-less-harmful
nitrate. It has to finish before the axolotl arrives. Set the tank up
two to six weeks ahead (a fishless cycle from scratch runs about four to eight
weeks; seeding from an established tank cuts that dramatically), add an ammonia
source to feed the bacteria, and test the water every day or two with a liquid
kit like an API Freshwater Master Test Kit. You are cycled when ammonia and
nitrite both read zero for several consecutive days while nitrate climbs.
Once cycled, your target parameters are simple and worth taping to the tank,
in line with the captive-care figures at
axolotl.org:
- Ammonia: 0 ppm, always
- Nitrite: 0 ppm, always
- Nitrate: under 20 ppm, managed with water changes
- pH: roughly 7.0–8.0 (about 7.4–7.6 is the sweet spot)
- Temperature: 60–68°F, low-to-mid 60s ideal
Filling and maintaining the water
Every drop of tap water that goes into an axolotl tank has to be dechlorinated
first. Chlorine and chloramine are added to municipal water to kill bacteria —
including the beneficial colony in your filter — and they are brutal on delicate
external gills. Treat new water with a conditioner such as
Seachem Prime before it touches the tank, and match its temperature to the tank so you never
shock the animal with a cold or warm slug of water.
The ongoing routine is refreshingly light. Change about 20 to 25% of the water
each week with conditioned, temperature-matched water to keep nitrate under 20
ppm; run a quick parameter test at the same time; and baster out any waste and
uneaten food between changes. Once a month, rinse the sponge filter in a bucket
of removed tank water — never under the tap, which would kill the bacteria you
worked weeks to grow. That is the whole maintenance load, and it prevents nearly
every common health problem before it starts.
Axolotl tank mates: the honest answer is none
Sooner or later every keeper wonders about company for their axolotl, and the
honest answer to the axolotl tank mates question is: none, in
almost every case. It is a disappointing answer that saves a lot of heartbreak.
The problem runs in both directions. Fish and shrimp nip relentlessly at those
irresistible feathery gills, stressing the axolotl and sometimes causing real
damage. And anything small enough to fit in an axolotl’s mouth — which is most
tank-sized creatures — eventually gets inhaled, parasites and all.
Goldfish are the classic bad idea: people pair them because both like cool
water, but goldfish nip gills, outcompete the axolotl for food, and foul the
pristine water axolotls depend on. Even keeping two axolotls together takes care
— they cohabit only at matching sizes with generous floor space and constant
food, or hungry tankmates start nipping limbs (which regenerate, remarkably, but
are far better left intact). For the vast majority of keepers, one axolotl in one
well-run tank is the setup that never causes a 2 a.m. emergency.
What a full axolotl tank setup costs
Budget surprise is a top reason axolotls get rehomed, so let’s be honest about
the numbers. The animal is the cheapest line item — common morphs run roughly
$30 to $100 from a quality breeder. The habitat is where the money goes. A tank
and lid, sponge filter and air pump, test kit, water conditioner, a hide or two,
sand, and a thermometer typically land somewhere between $150 and $250 if you
shop smart. The wildcard is temperature control: a clip-on fan is $30 to $60,
while a proper aquarium chiller — only necessary in homes that can’t naturally
hold water under about 70°F — is a $200 to $600 question all by itself.
Ongoing costs are small. A cup of nightcrawlers stretches for weeks, and the
air pump for a sponge filter sips electricity. Set the tank up once, correctly,
and this is a decade-plus animal whose monthly cost is trivial. That framing
matters: a genuinely cycled tank and a slightly better filter are investments in
ten to fifteen years of an easy pet, not expenses to trim.
Setting it up, in order
With the parts chosen, the axolotl tank setup comes together in a clear order.
Once the gear is home, the assembly order keeps things painless. Rinse the
tank and any sand with plain water — never soap — and set the tank on its stand
in a cool, low-traffic, out-of-direct-sun spot. Add the substrate (or leave it
bare), position hides and plants, and fill with dechlorinated, temperature-matched
water. Install the sponge filter and air pump, clip on the fan or plumb in the
chiller, and stick the thermometer to the glass where you’ll actually see it.
Then wait. Begin the cycle, test every day or two, and resist the urge to add
the axolotl until ammonia and nitrite hold at zero. That patience is the hardest
part of the whole build and the most important — a tank that looks finished and a
tank that is biologically ready are two very different things. When the numbers
say go, acclimate your new axolotl slowly, keep the lights dim for the first few
days, and let it settle.
Frequently asked questions about axolotl tank setup
Is a 10-gallon tank ever enough for an axolotl?
No. A 10-gallon can’t hold stable temperature or water chemistry, and an adult
axolotl is nearly a foot of floor-walking animal. A 10 works only as a temporary
grow-out tub for a small juvenile, and even then a 20-gallon long is the goal the
moment it’s affordable. Twenty gallons long is the real minimum for a single
adult, and more floor space is always better.
Do I need a filter at all if I do frequent water changes?
Yes. Water changes remove nitrate, but only a biological filter continuously
converts the toxic ammonia and nitrite that an axolotl produces every hour
between changes. A gentle sponge filter is inexpensive and does that job around
the clock. Going filterless means chasing dangerous ammonia spikes with a bucket,
which no one wins for long.
Can I use an aquarium heater to hold a steady temperature?
No — and this trips up keepers coming from tropical fish. Axolotls need cold
water, so a heater is the opposite of what you want. Your temperature equipment is
a thermometer plus, if the room runs warm, a fan or a chiller to bring the water
down, never up. If your home naturally sits in the low-to-mid 60s, you
may need no active cooling at all.
How long before I can add my axolotl to a new tank?
Until the tank is fully cycled — typically four to eight weeks from scratch, or
much faster if you seed the filter with media from an established, disease-free
tank. The tank is ready when ammonia and nitrite read zero for several days
running while nitrate rises. There is no shortcut worth the animal’s life here;
cycle first, add the axolotl second.
What live plants survive in a cold axolotl tank?
Hardy, low-light, cool-tolerant species do best: java fern, anubias, java moss,
and elodea (anacharis) all tolerate axolotl temperatures and low light, and they
help mop up nitrate as a bonus. Anchor rhizome plants to decor rather than
burying them, and don’t feel obligated — silk plants give the same enrichment and
cover with zero fuss.
Can two axolotls share one tank setup?
Sometimes, with care. House only similarly sized adults together, scale the
floor space up (think 29 gallons or more for a pair), and keep everyone
well-fed so nobody nips a tankmate’s gills or limbs. Never mix a large axolotl
with a small one, and remember that even careful cohabitation carries more risk
than a solo setup. One animal per tank is always the safest default.
Ready to build it? Start with a healthy axolotl
A perfect tank still needs the right animal in it — and that part is decided
before you ever own it. Everything above assumes you start with a healthy,
properly raised axolotl, which means buying from a dedicated breeder rather than a
big-box store. Our full axolotl
care guide covers feeding, health, and day-to-day life once your setup is
running, and our companion guide on
where to
buy an axolotl covers prices, shipping, and the red flags to walk away from.
It is also worth checking
your state’s laws
before you pay a deposit.
A long tank, cold and still water, a safe floor, and a filter you cycled with
patience. Nail those four and the axolotl tank setup stops being intimidating and
becomes what it really is: a quiet, low-maintenance corner of the aquarium hobby,
starring the only pet that seems to smile back at you for the next fifteen
years.